
Relaying and Finishing recycled Floorboards
By Andy the stuff doer
An end to the bathroom floor saga.
It’s been great to finally finish this part of renovation. For earlier parts of the story have a look here where I had to support and level the floor, the lengths I had to go to do this “in keeping with” , repairing the old boards. And then their was planning and fitting all the electrics and plumbing to go under the floor and as I hope to never have to lift this floor it all needed testing first so that meant waiting until the boiler was fitted. With all that behind me I could nearly go ahead and fit the recycled boards.
First final, final checks on the wiring and plumbing then to put some insulation. The bathroom is over a passage way so it need thermal and sound insulating. I choose a combination of rockwool typ stuff and vermiculite. A thin layer of rockwool as a first layer justin case the ceiling of the passageway ever gets damaged would hold up the loose fill vermiculite. The vermiculite is better sound insulation than rockwool hence the combination. I then added another thin layer on rock wool as a final layer to fill the rest of the void.

Insulation between joists under the bathroom floor
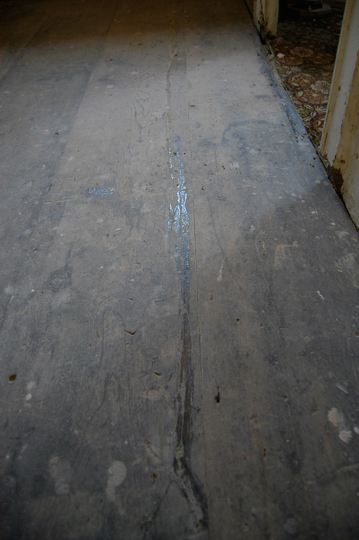
The recycled and repaired boards I nailed down using the traditional cut brads. To make sure of tight fit between the boards I clamped them up using a couple of car jacks this turned out to be a fine way doing the job without having to resort to specialist cramps or wedges.

Recycled floor board fitting
car jack used to close the joints
With the floor boards refitted it was time to think how to finish them in a suitable way for a bathroom because having gone to all this trouble it would be a shame not to have a real wood floor. The boards where slightly uneven at the joints (the old tongue and grooves not being accurate) and the repairs needed flattening and had suffered from previous abuse and a little wood worm damage in parts.
pine floor boards repaired where damaged
The floor needed sanding back to an acceptable state unfortunately this meant removing most of the patina of age although I took it back by the bare minimum so it still had some dents and knocks showing.
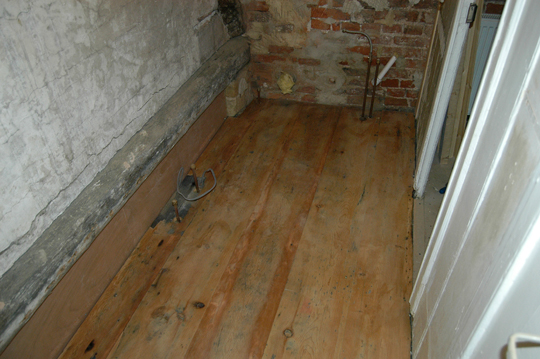
Old recycled bathroom floorboards laid and sanded
After consultation with the other half it was decided to dye or stain the pine dark before varnishing or waxing or lacquering. After much research and head scratching I came up with what I hope will be the right methods and materials to use. I found the information supplied by Toby Newell of floorsanding-UK.com very useful. I might not have produced aresult as good as he could but it looks good to me and the other half likes it. I’ll be posting more of the detail on the website when I get chance ****
In brief , the first thing was to decide the actual colour so I did a few samples on an off cut. Then did all the filling using a resin and sanding dust ( a revelation for me and technique I’m also using on the cruck frame). Followed by finished it off with a clear satin finish two part water based laquer.
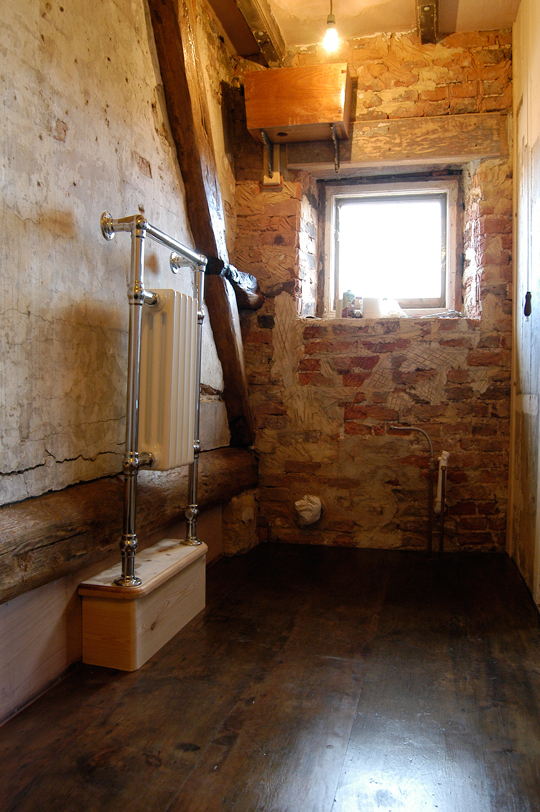
Bathroom floor finished with water based lacquer
The character of the wood shines through whilst the finish should be practical and long lasting. With that done I can get on with sorting the rest of bathroom out.
Plinth for the raditor (as seen above), Skirting boards, resting the wood panelled wall to right, repairing the lime plaster to right, fitting radiator, lime plastering the window wall, bending a flush pipe for to toilet, polishing the roll top bath, a spot of decorating then fitting the toilet sink bath and shower leaving just the finishing touches to sort out. So nearly done!